The Process
What goes into designing a product?
Quick Overview
While the various design activities of a project will vary, there tends to be an overarching process that I follow throughout the product life cycle. Below I detail each step of the process, calling out key objectives and tools that I use to help my teams navigate an opportunity space and iteratively refine products.

Product life cycle
Step 1.
Discovery
This is where we try to understand who our audience is, what behaviors and desires they have, and how we can effectively drive our business therein. The outcomes we set in this stage will become our north star.
Key Objectives
- Identify and empathize with target audience
- Set key product outcomes
- Build out an opportunity space mapped to outcomes
- Choose the most impactful opportunity
Handy Tools
- Interviews
- Shadowing
- Discovery workshops
- Surveys
- Landscape analysis
- Process mapping (and pain-point voting)
- Opportunity-solution trees
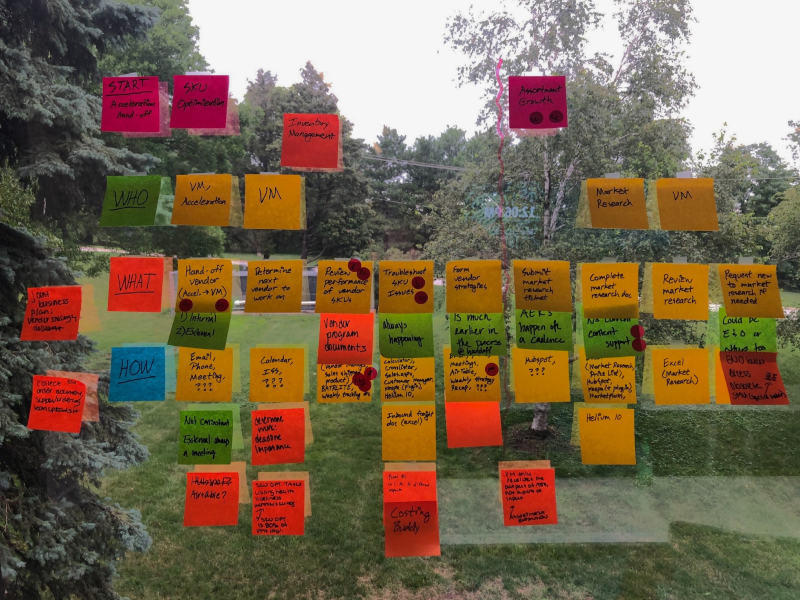
Example process mapping
Step 2.
Solutioning
Now that we've identified an opportunity to pursue, it's time to uncover what might go into a solution. We want to start scrappy, test, and iterate until we've formed a dev-ready solution that we're confident will drive our key outcomes.
Core Tasks
- Ideate on solutions for a given opportunity
- Identify shared, foundational aspects of a solution
- Create visuals to test critical assumptions / flows
- Decide on a go-forward path (as a team) & polish
Handy Tools
- Design workshops
- Sketching, wireframing
- Prototyping
- Scenario and A/B testing
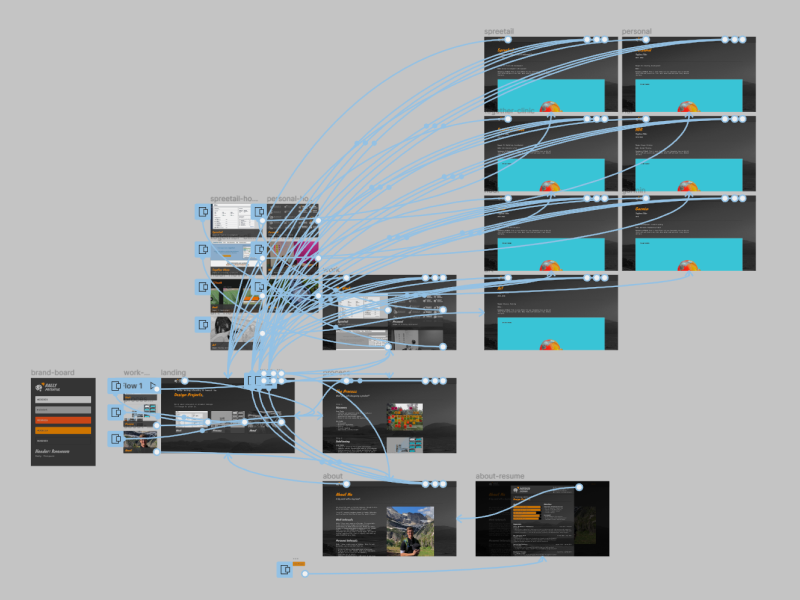
Example Figma prototype
Step 3.
Development
This is where we build / code the solution. With that, there's an emphasis on aligning development with the decisions that our team outlined during solutioning (including feasibility considerations). This ensures that key user flows and interactions are accounted for in a sustainable manner.
Key Objectives
- Align on work to be done
- Ensure work is sufficiently granular
- Develop the solution
- Code review and test
Handy Tools
- User acceptance testing
- Product team review
- Betas and / or feature flags
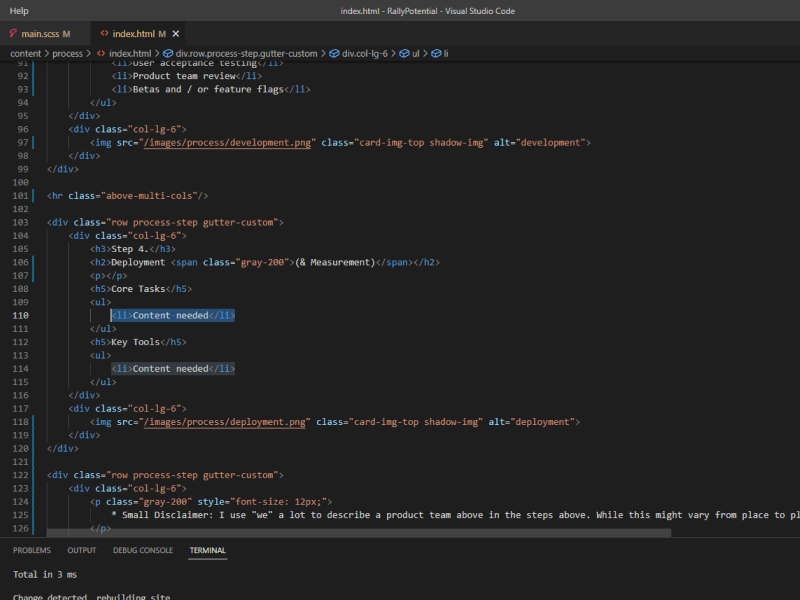
Example development environment
Step 4.
Delivery & Monitoring
It's time to launch our solution! With that, we want to make sure we're effectively communicating with users to set expectations and even build excitement. We also want to measure our impact to see if we achieved the outcomes that were set during discovery.
Key Objectives
- Create and distribute release notes
- Monitor usage trends, user sentiment, or other key metrics
- Determine whether to persevere or pivot to a new opportunity
Handy Tools
- Email distribution lists
- Surveys
- Analytics & session tracking (e.g., Google Analytics, LogRocket, etc.)

Example analytics dashboard
* Small clarification: I use "we" a lot to describe a product team in the steps above. While that team structure might vary from place to place, I think of it as a core team with representation from product management, engineering, and user experience design.